Using Bulk Edit
The Bulk Edit feature allows you to make changes to multiple names or records simultaneously.
With the Bulk Edit feature, you can change/update a field to a selected value, add or remove a Tag, and archive their information!
This action applies the changes to all of the names you have checked on the People screen. Follow the steps below to bulk edit.
- Step 1. Check Names
- Step 2. Select Your Changes
- Step 3. Apply Changes
- Tips to Bulk Edit Your Church Database
Step 1. Check Names
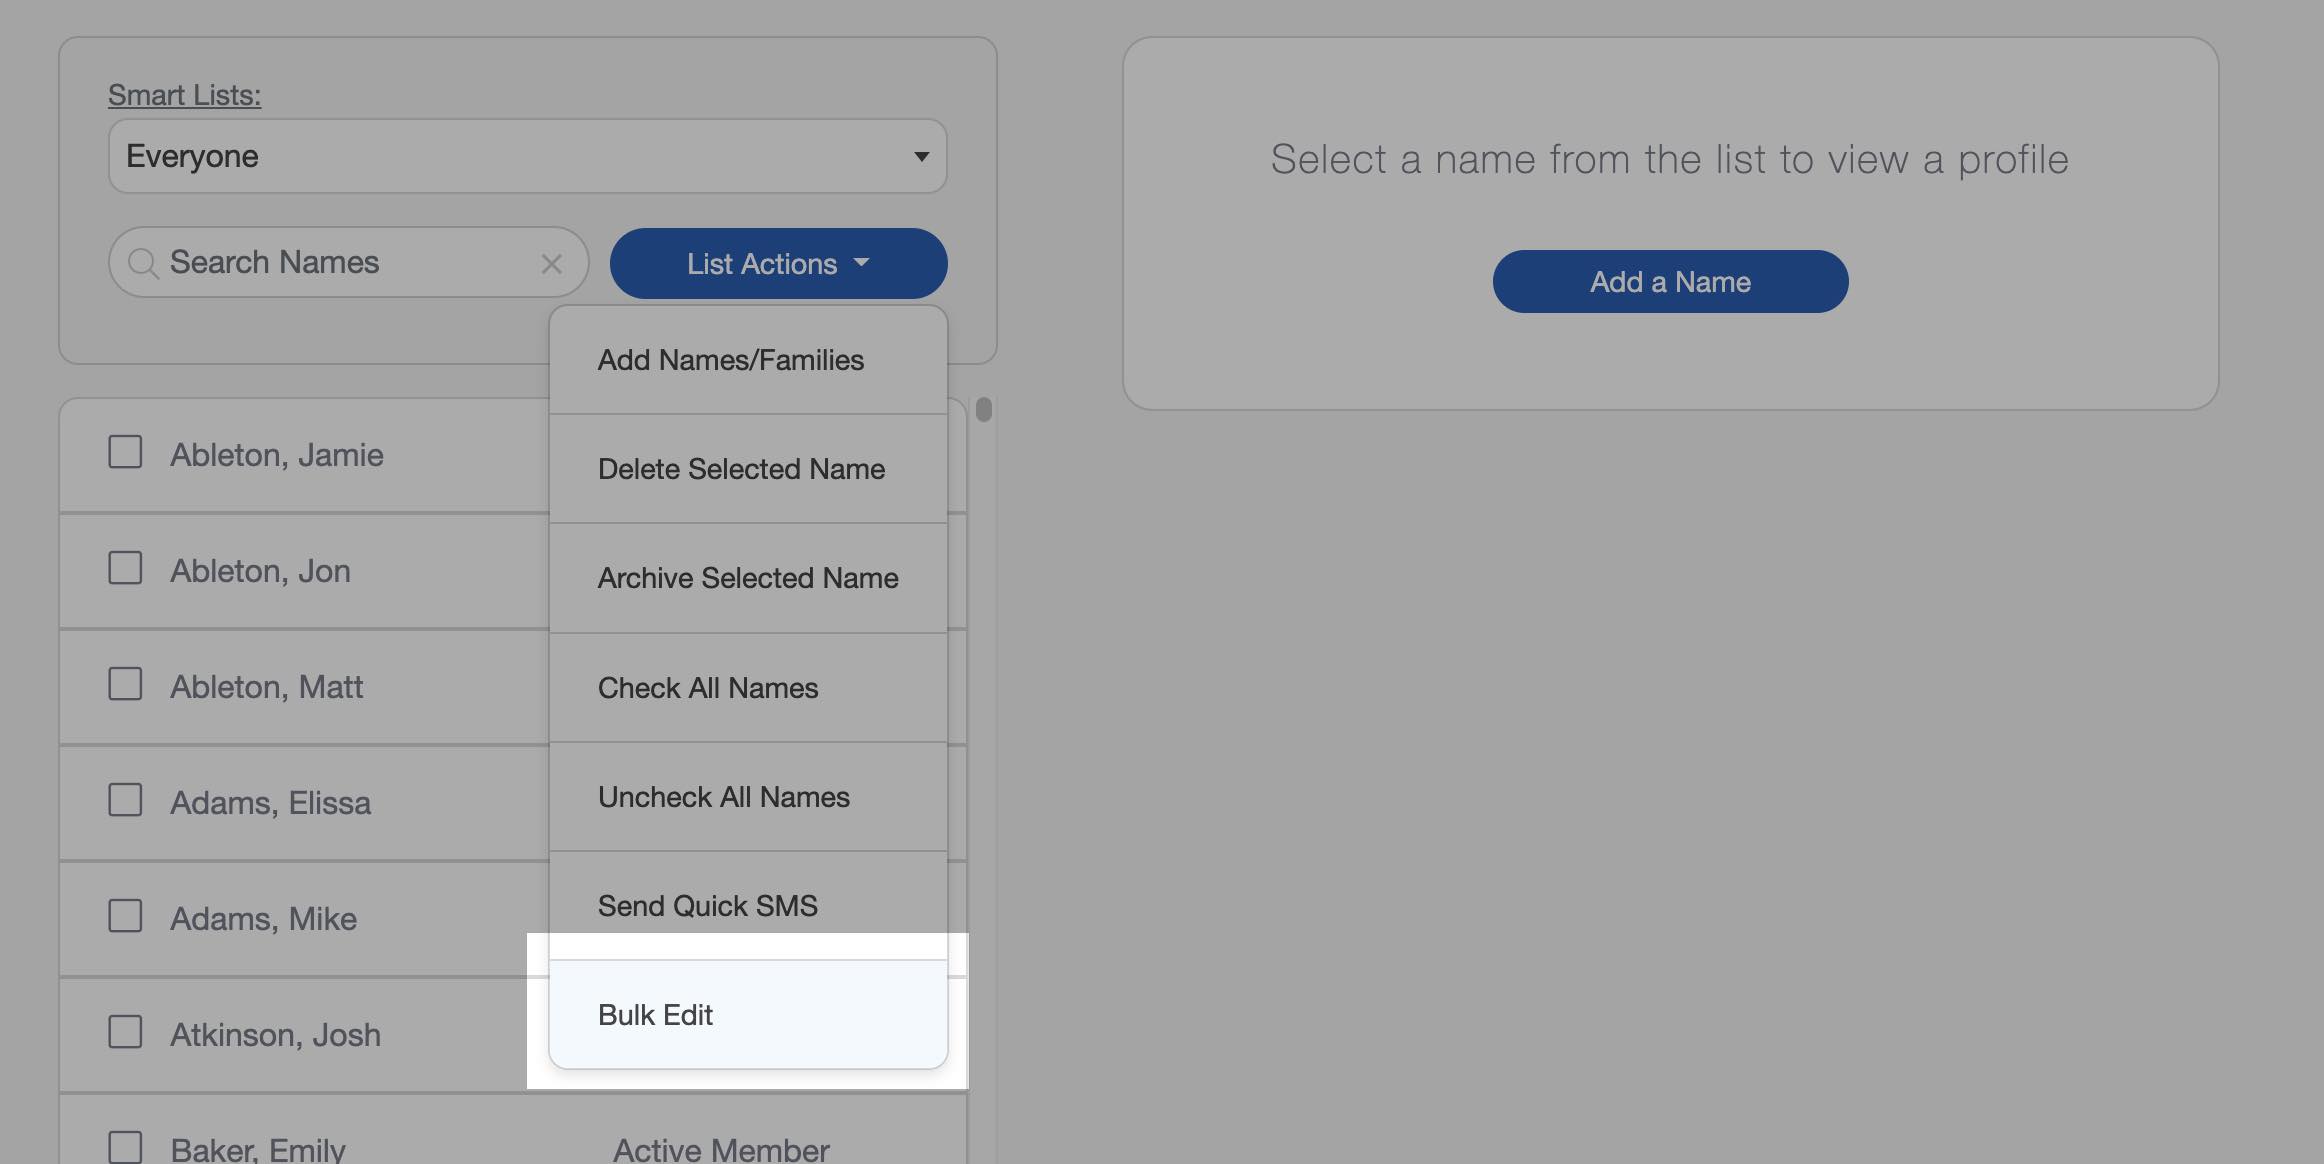
Scroll through the list of names in your church directory and click the checkbox to the left of each name for which you want to make an edit. After checking the box next to the names you want to work with, select the "Actions" button on the People Screen to access the Bulk Edit window.
Step 2. Select Your Changes
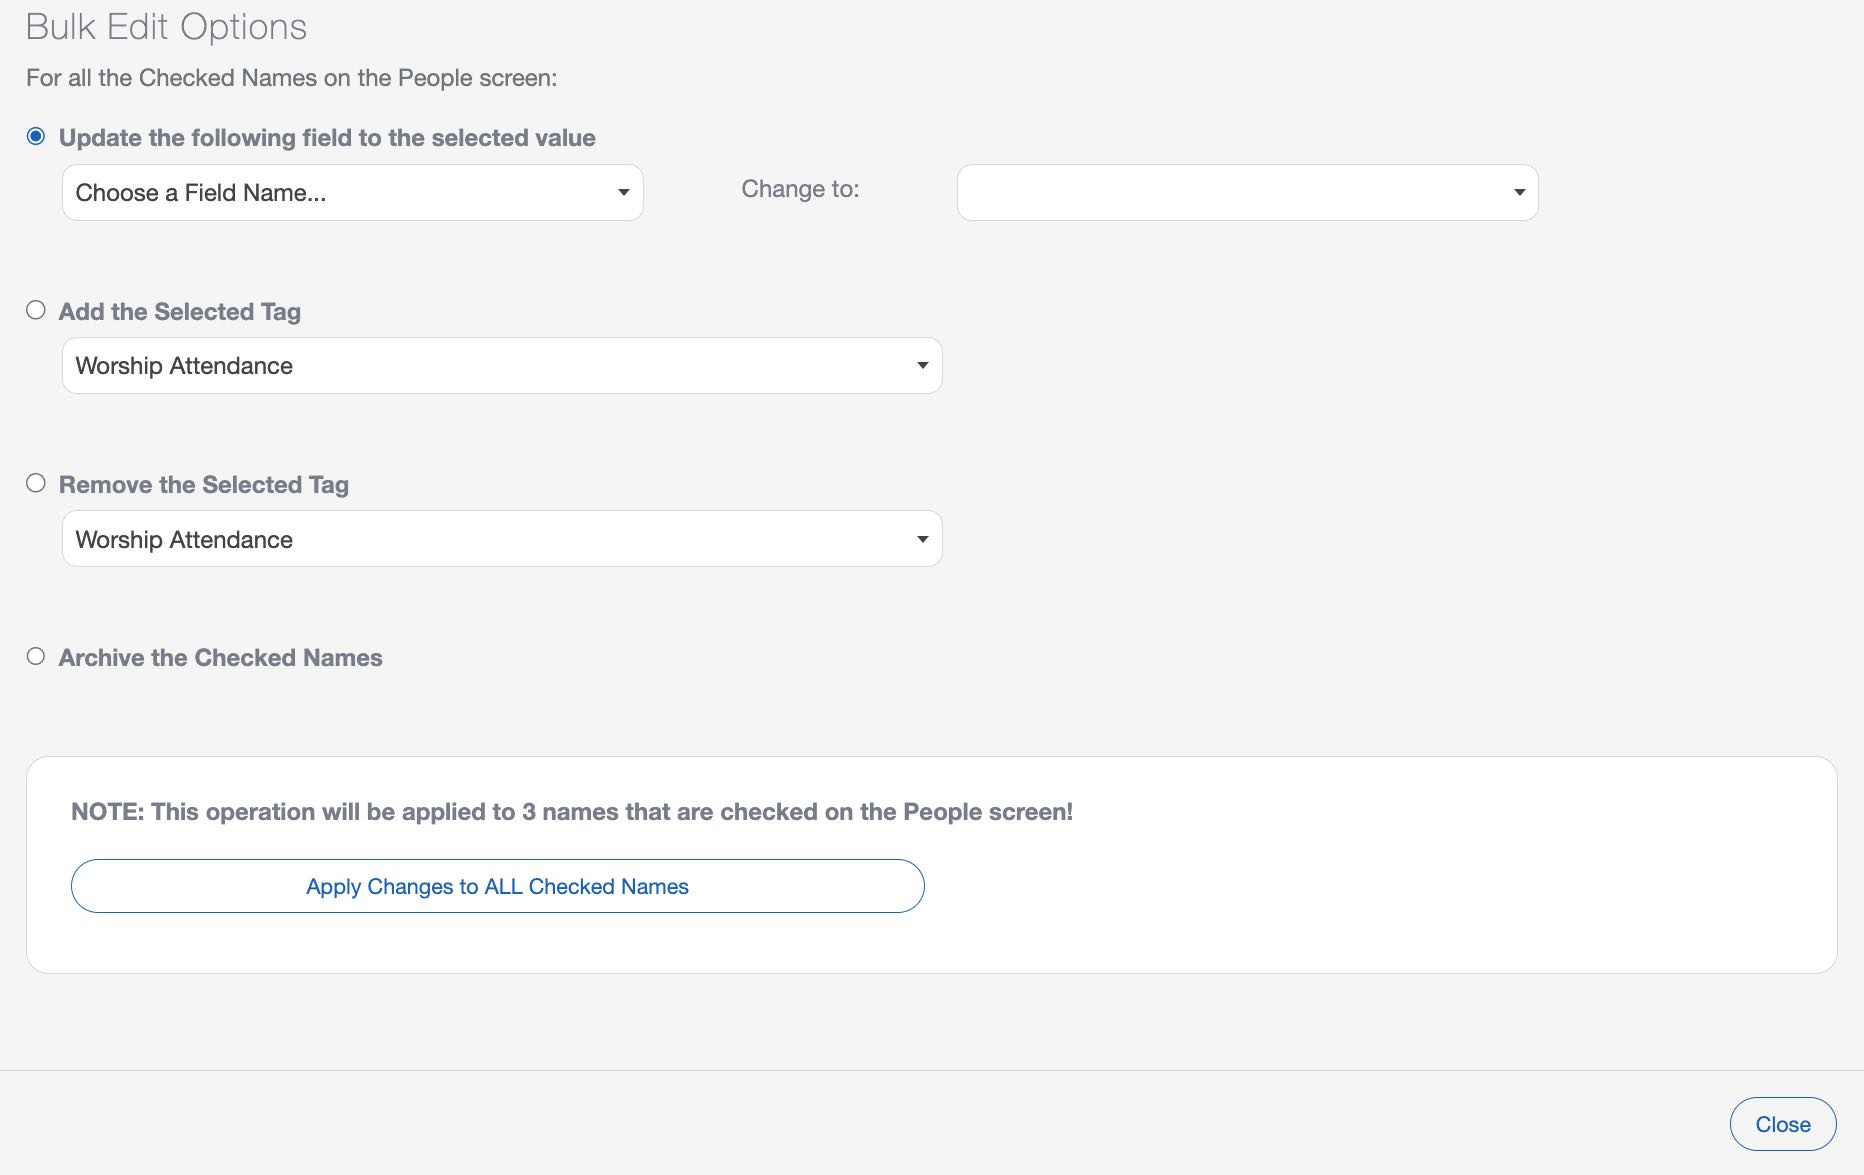
The Bulk Edit window presents you with several choices:
First, you have the option to change a field's value for all checked names. You can choose from several built-in fields, plus many of your user-defined fields.
Step 3. Apply Changes
Once you can make your selection, click the "Apply Changes to ALL Checked Names" button. Then type "Yes" in the following window.
Notice that the red box around the "Apply Changes to ALL Checked Names" button lets you know how many records this action will be applied to in your church directory. You should always double-check to make sure this number matches what you're expecting.
Tips to Bulk Edit Your Church Database
Smart Lists
Using a Smart List can help speed up your selection process. You can choose a specific Tag to display, or just names that meet the criteria of one of your Smart Lists, instead of manually scrolling through the list checking and unchecking names. See our Smart List article › to learn more.
Double-check the names you select
The Bulk Edit operations will apply to every checked name on the People Screen. You can use the 'Check All' and 'Check None' buttons to quickly add or remove checkmarks, or you can manually check and uncheck names. Do this before applying any changes using the Bulk Edit feature.